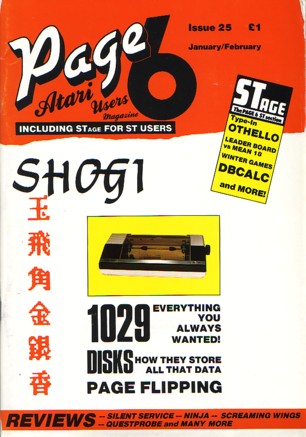
Anyone
who purchased the 1029 printer to enable them to debug programs will
almost certainly be disappointed in that it does not print anything
like the full range of characters that appear on the TV
screen. All is not lost, however, as the 1029 is capable of both Bit
Image Mode and International Character mode which together can be
used to print those 'unprintable' characters.
The accompanying program can be used to print any
program that has been LISTed to disk and will show all control
characters as well as inverse characters in much the same way as the
listings in PAGE 6. The program to be printed must be in
LISTed form on disk. Just run the program and follow the prompts.
The length of line for the printer is requested, defaulting to the
normal screen width of 38 but this can be overtyped. The number of
lines per page can also he similarly altered. Enter the filename to
be printed without using 'D:' or quotation marks. The program will
default to drive 1. When the file has been located, the screen is
turned off and printing begins.
Once the number of lines per page has been reached
the screen is turned on and the message 'NEW PAGE' appears. You may
now adjust the paper or insert another sheet before pressing RETURN
to continue.
The listing is offset from the left margin by
using a standard tab (',') in line 110 which will allow for hole
punching for storage and the page heading and page numbering is
printed in double width.
For those who would like some more information on
how the program works I will provide some brief notes.
FORMING CHARACTERS
Firstly it is important to understand how
characters are formed in Bit Image Mode. The printed character is
made up of a matrix of 7 dots high by 5 dots wide (compared with a
screen image of 8 pixels high by 8 wide). In Bit Image Mode it is
possible to address single dots column by column. Standard binary is
used but as the matrix is only 7 dots high only a maximum of 127 can
be used in each column. This would give a full vertical line.
Each of the 5 columns is constructed as follows:
|
Top Dot |
... 64 |
|
|
... 32 |
|
|
... 16 |
|
|
... 8 |
|
|
... 4 |
|
|
... 2 |
|
Bottom |
... 1 |
To construct a line of dots in the first column
of, say, the top, second to bottom and bottom rows, simply add up
the values for each row and write this as a DATA statement:
10 DATA 69
Now repeat for all five columns to build up the
necessary shape of the character:
10 DATA 69,111,65,13,127
An additional point to note is that although the
1029 uses five columns for a character it normally also prints a
sixth blank column to separate the characters and this rule must be
obeyed in order to use the Bit Image Mode to print alternative
characters. So, a 6th line of dots (in this case no dots) must be
added so the data must end in 0:
10 DATA 69,111,65,13,127,0
BIT IMAGE MODE
To put the 1029 in Bit Image Mode it is necessary
to send the code ESC ESC A to the printer. This must be followed by
the Most Significant Bit (MSB) and the Least Significant Bit (LSB)
denoting the number of rows of data to be sent to the printer. In
this case, since we have only 6 rows of data the MSB= 0 and LSB=6.
The routine for sending the Bit Image data is in
lines 360 to 420 of the program:
Line 360 sends the instruction to Set Bit Image
Mode, MSB and LSB.
Line 370 selects the DATA line that contains the
matrix to be printed. It is 1000 plus the ATASCII code for a
particular character. For example, the ATASCII code for Inverse
CONTROL B is 130 so line 1130 contains that data.
Lines 380 to 410 read the DATA statement and
prints the individual columns of selected dots. Line 420 returns to
the main program to find the next character to be printed.
INTERNATIONAL CHARACTERS
So much for 'non-standard' characters but there
are in fact several characters that the 1029 can print without using
the Bit image Mode and constructing DATA statements. These are
included in the 'International Character Set' and include such
characters as 'clear screen' and 'cursor arrows'.
These can be printed simply by putting the 1029
into International mode by sending the codes ESC CONTROL-W to turn
on the mode and ESC CONTROL-X to turn it off. Line 330 of the
program does this.
The heart of the program lies between lines 120
and 220. Each character to be printed is read from the disk (GET
#1,A) and the ATASCII value is checked. If the character is not one
which can be printed normally, the program goes to the subroutine
for either Bit Image Mode or International Mode as appropriate. If
the character is standard the program continues to line 200 where it
is printed as normal.
One slight drawback is that some characters, being
normally 8 bits wide are difficult to fit into a 5 dot matrix so the
sixth dot has to be used and the spacing is lost. The results
however are still quite legible.
I hope that 1029 owners will find new uses for
their printer with the information in this article and program. It
should be quite simple, for instance to print the elusive £ sign
with a little thought. Remember it is ATASCII code 8 or CONTROL-H in
International mode.
|
|
|
 |
top